Create an AI Headshot Generator: Fine-tune Stable Diffusion with Astria AI
Create an AI Headshot Generator: Fine-tune Stable Diffusion with Astria AI.
In today's digital age, online first impressions matter.
Whether you are a professional seeking a sleek headshot to improve your social profiles, or a developer building a next generation AI image app, this article will cover how you can create stunning AI headshots by training your own Stable Diffusion model on Astria AI.
Developers meet Headshot AI
As covered in our recent blog, Headshot AI is a new open-source app from Astria AI that generates Professional AI Headshots in minutes.
Simply fork the repository and add Stripe and you have a Headshots SaaS in a box. This feature can also be easily integrated into existing apps by using the Astria AI API
Headshot AI demo
- Experience the live demo here.
- Dive into the code by visiting the GitHub repository.
Now, let's dive into how anyone can create AI headshots with Stable Diffusion models.
How to generate your own AI Headshots
A polished corporate headshot can significantly impact your professional image and the Astria AI headshot generator is revolutionizing the photography industry, allowing you to effortlessly enhance your headshot and create a captivating image that reflects your personal brand.
First we'll cover how AI headshots recently rose into the mainstream, and then we'll go through a step-by-step guide on how to generate your own headshots in the Astria AI dashboard.

The AI Magic Behind Headshots
You've probably seen AI magic avatars.
They flooded social networks in November 2022, and ever since we've seen the demand for AI avatar generators skyrocket.

The way this technology works is by using Dreambooth to fine-tune a Stable Diffusion model.
While magic avatars for social media a slew of new apps are using fine-tuning for a much wider variety of use cases ranging from Linkedin photos to stylized icons.
In this post, we'll focus on how to make your own AI headshot generator using fine-tuning with the Astria AI
Let's get into it!
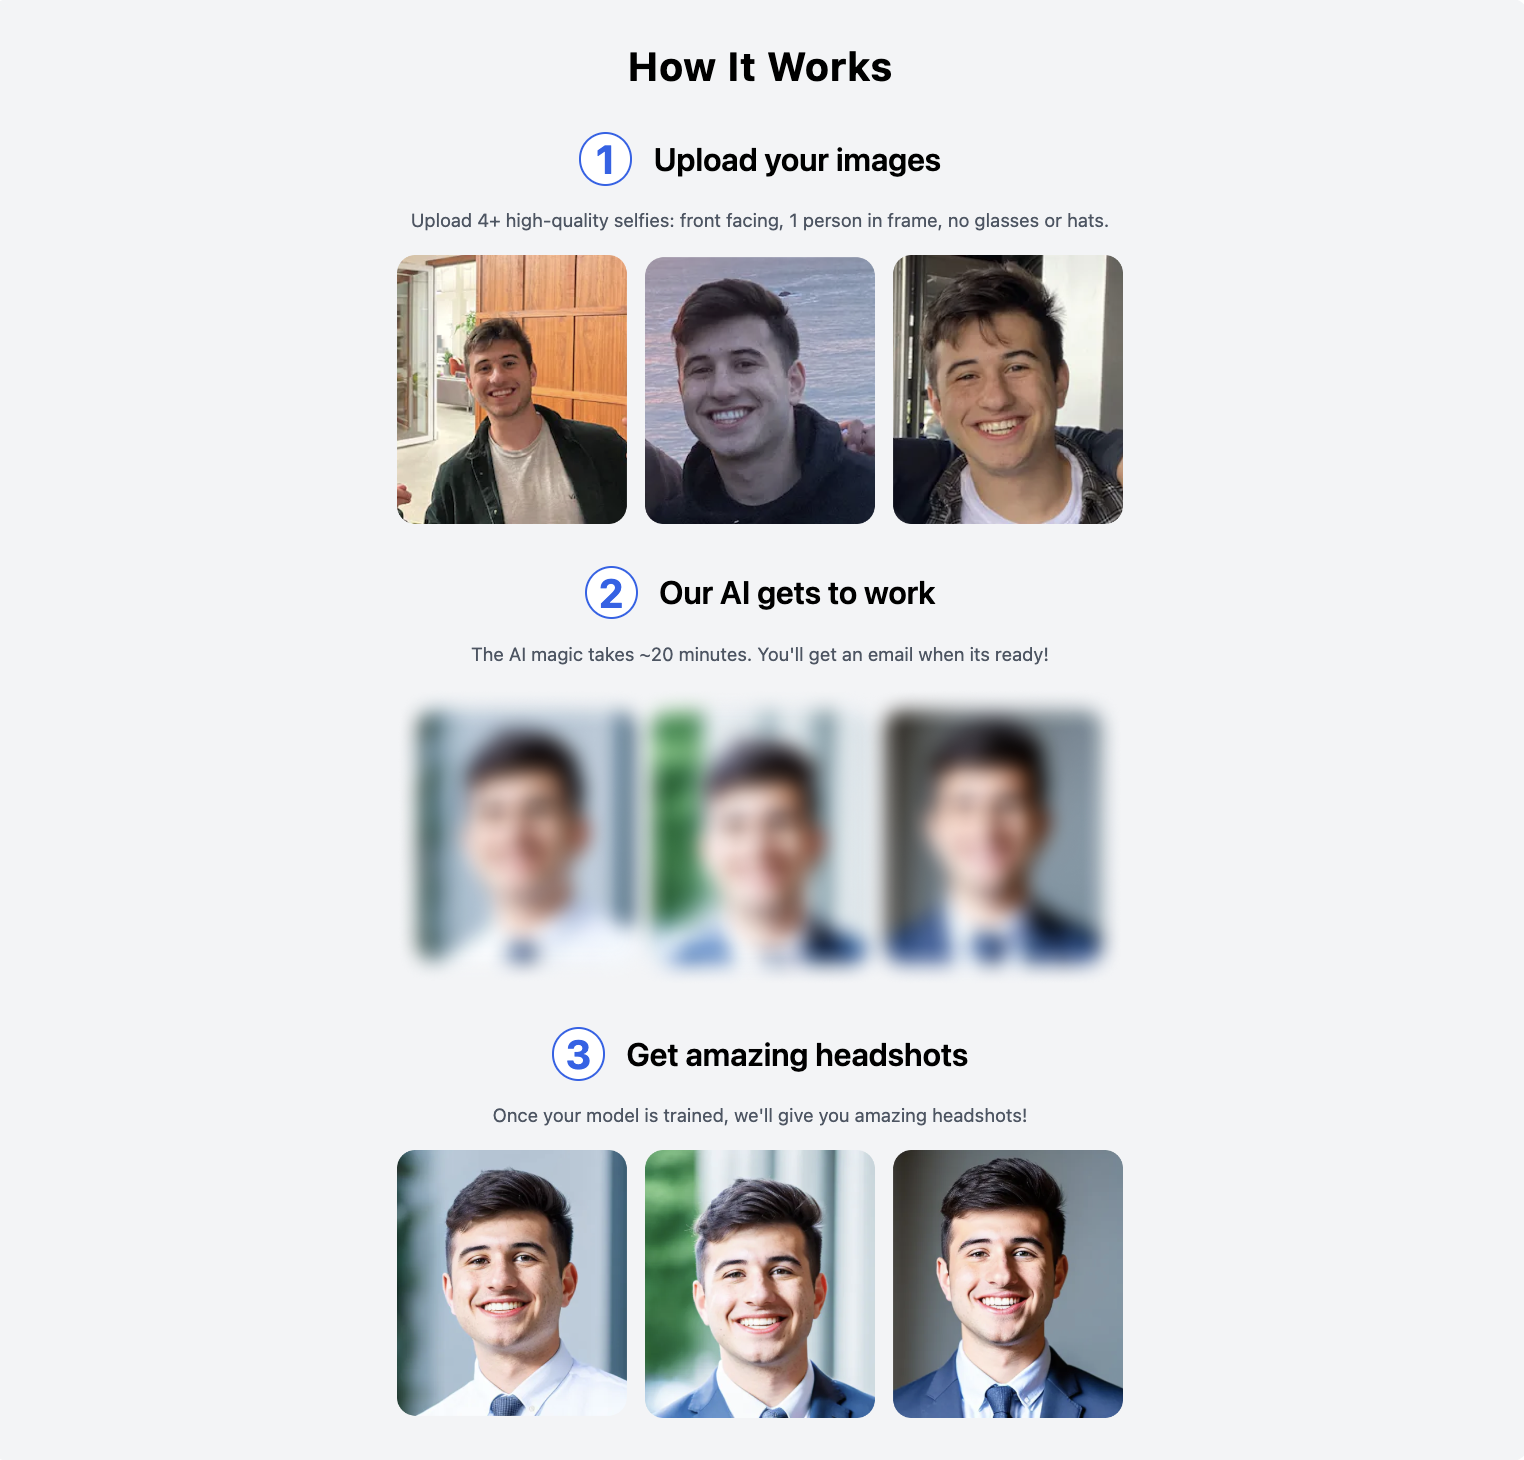
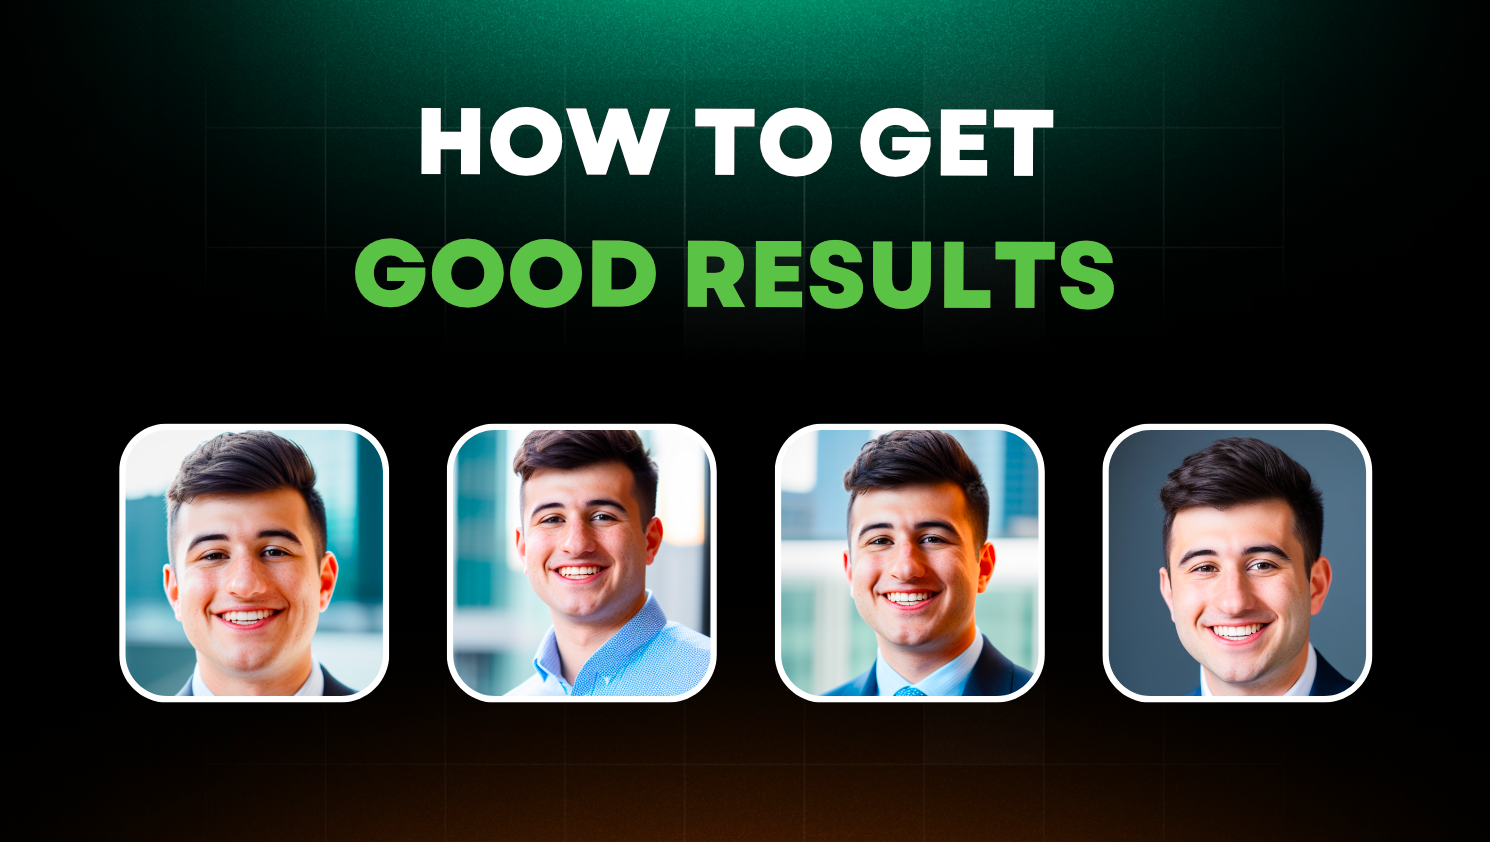
Step 1: Gather your image samples 📸
First, you'll need image samples to teach the model what your face looks like.
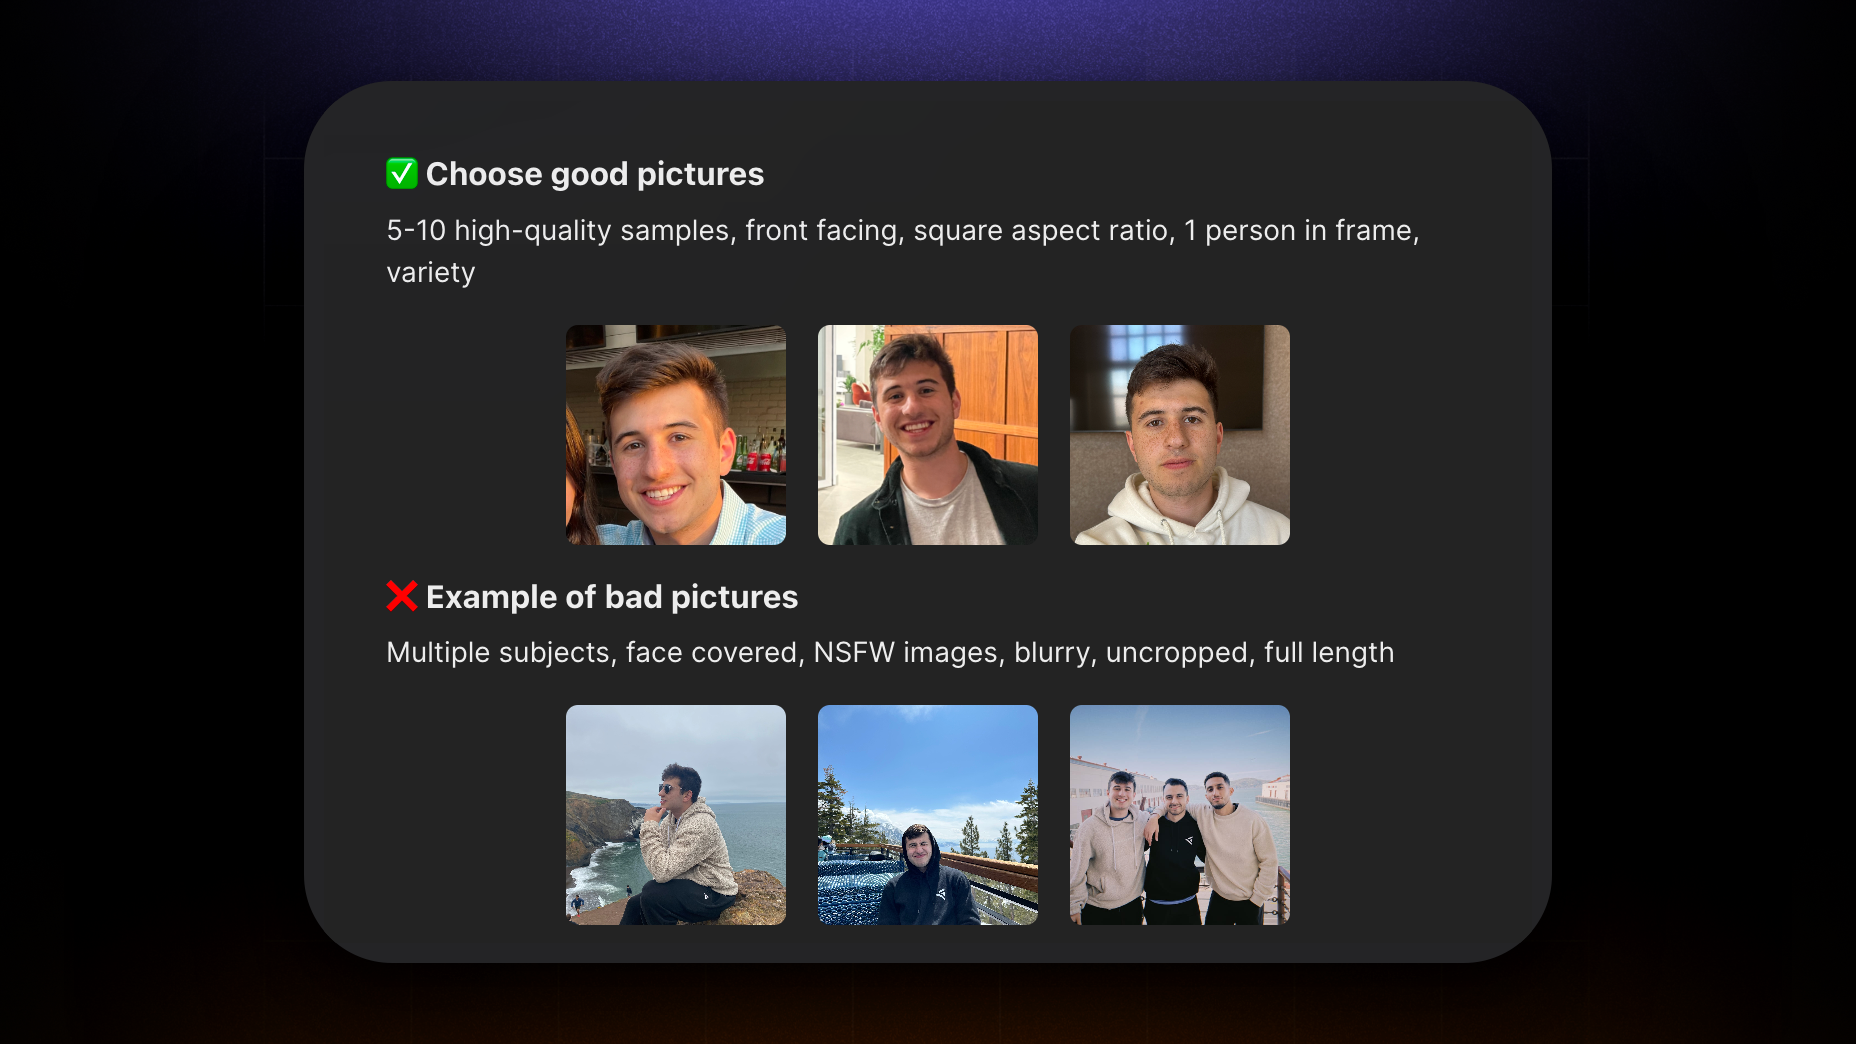
These are critical. Garbage in = garbage out. Here's what we recommend:
- Use 4-15 high-quality image samples.
- Ensure images are close-ups of faces and that the face is centered.
- Have only one person in the frame.
- Avoid accessories like sunglasses and hats.
- Ensure the face is clearly visible. (For face detection, consider using tools like Cloudinary API).
How to avoid multiple faces in results ❌
What should you do if you get distorted results with multiple faces, repeated subjects, multiple limbs, or pictures of just a body without a head?
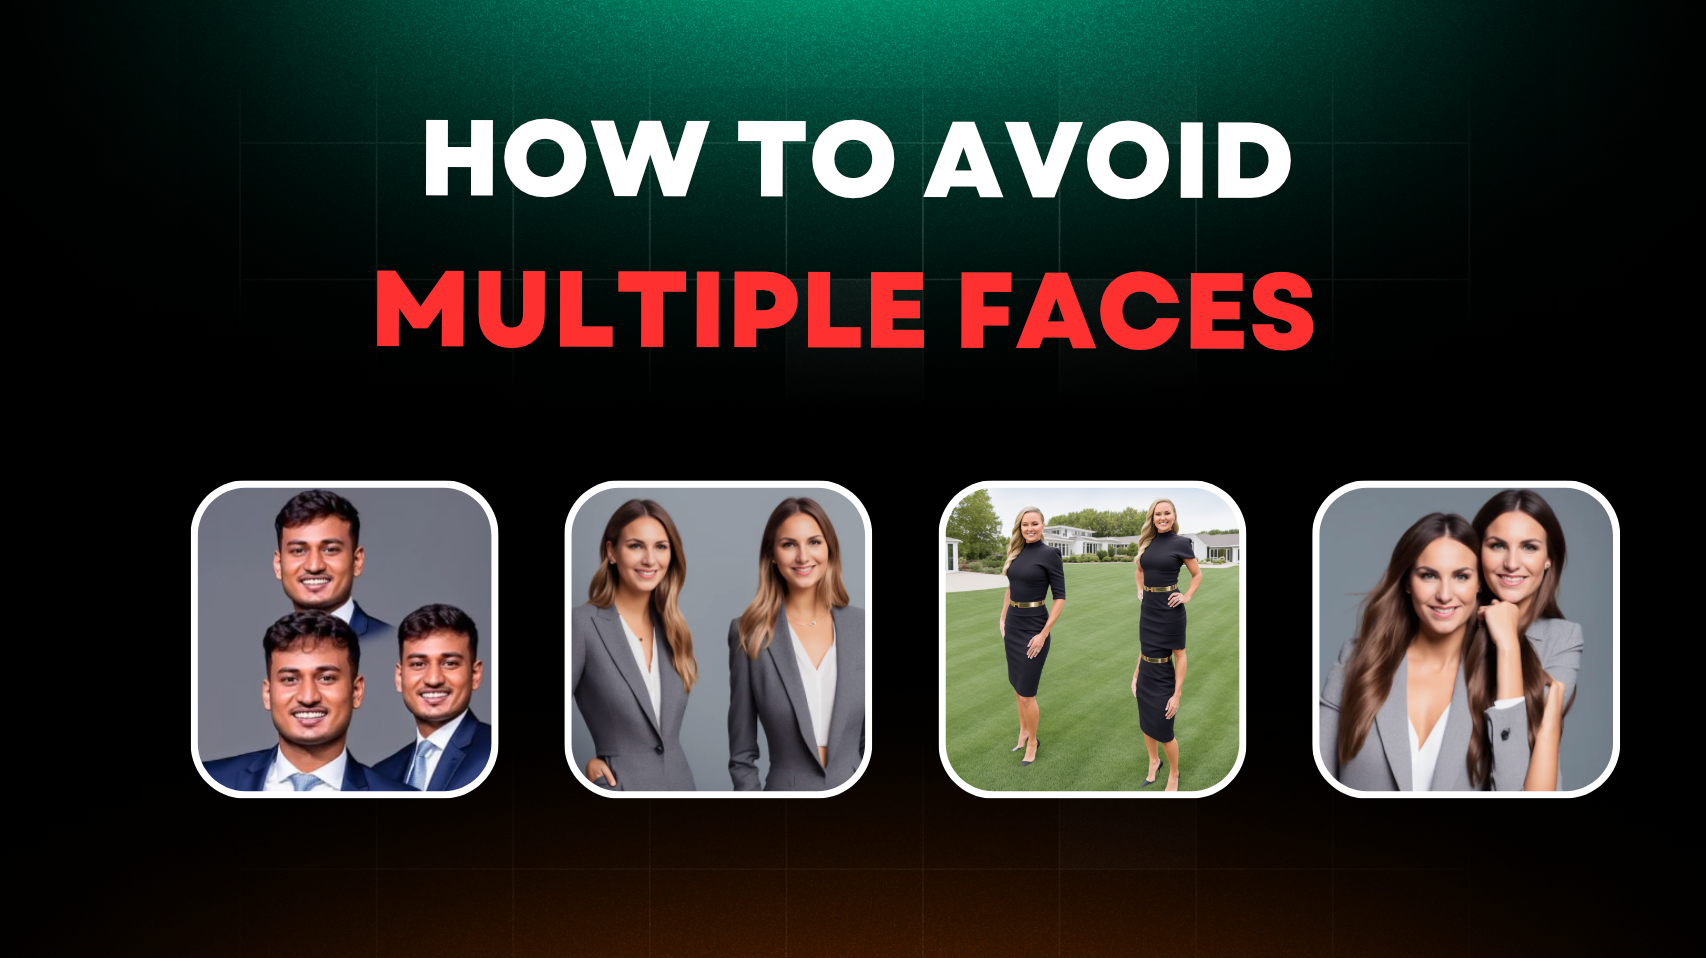
While the AI models will continue to improve, the following steps will minimize the chance of this happening:
- Make sure any samples uploaded are the same 1:1 height / width aspect ratio, for example 512x512, 1024x1024, etc.
- Avoid mutiple people in the samples uploaded.
- Add "double torso, totem pole" to the negative prompt when generating.
- Make sure your dimensions when generating are also 1:1 with the same height / width ratios of the samples.
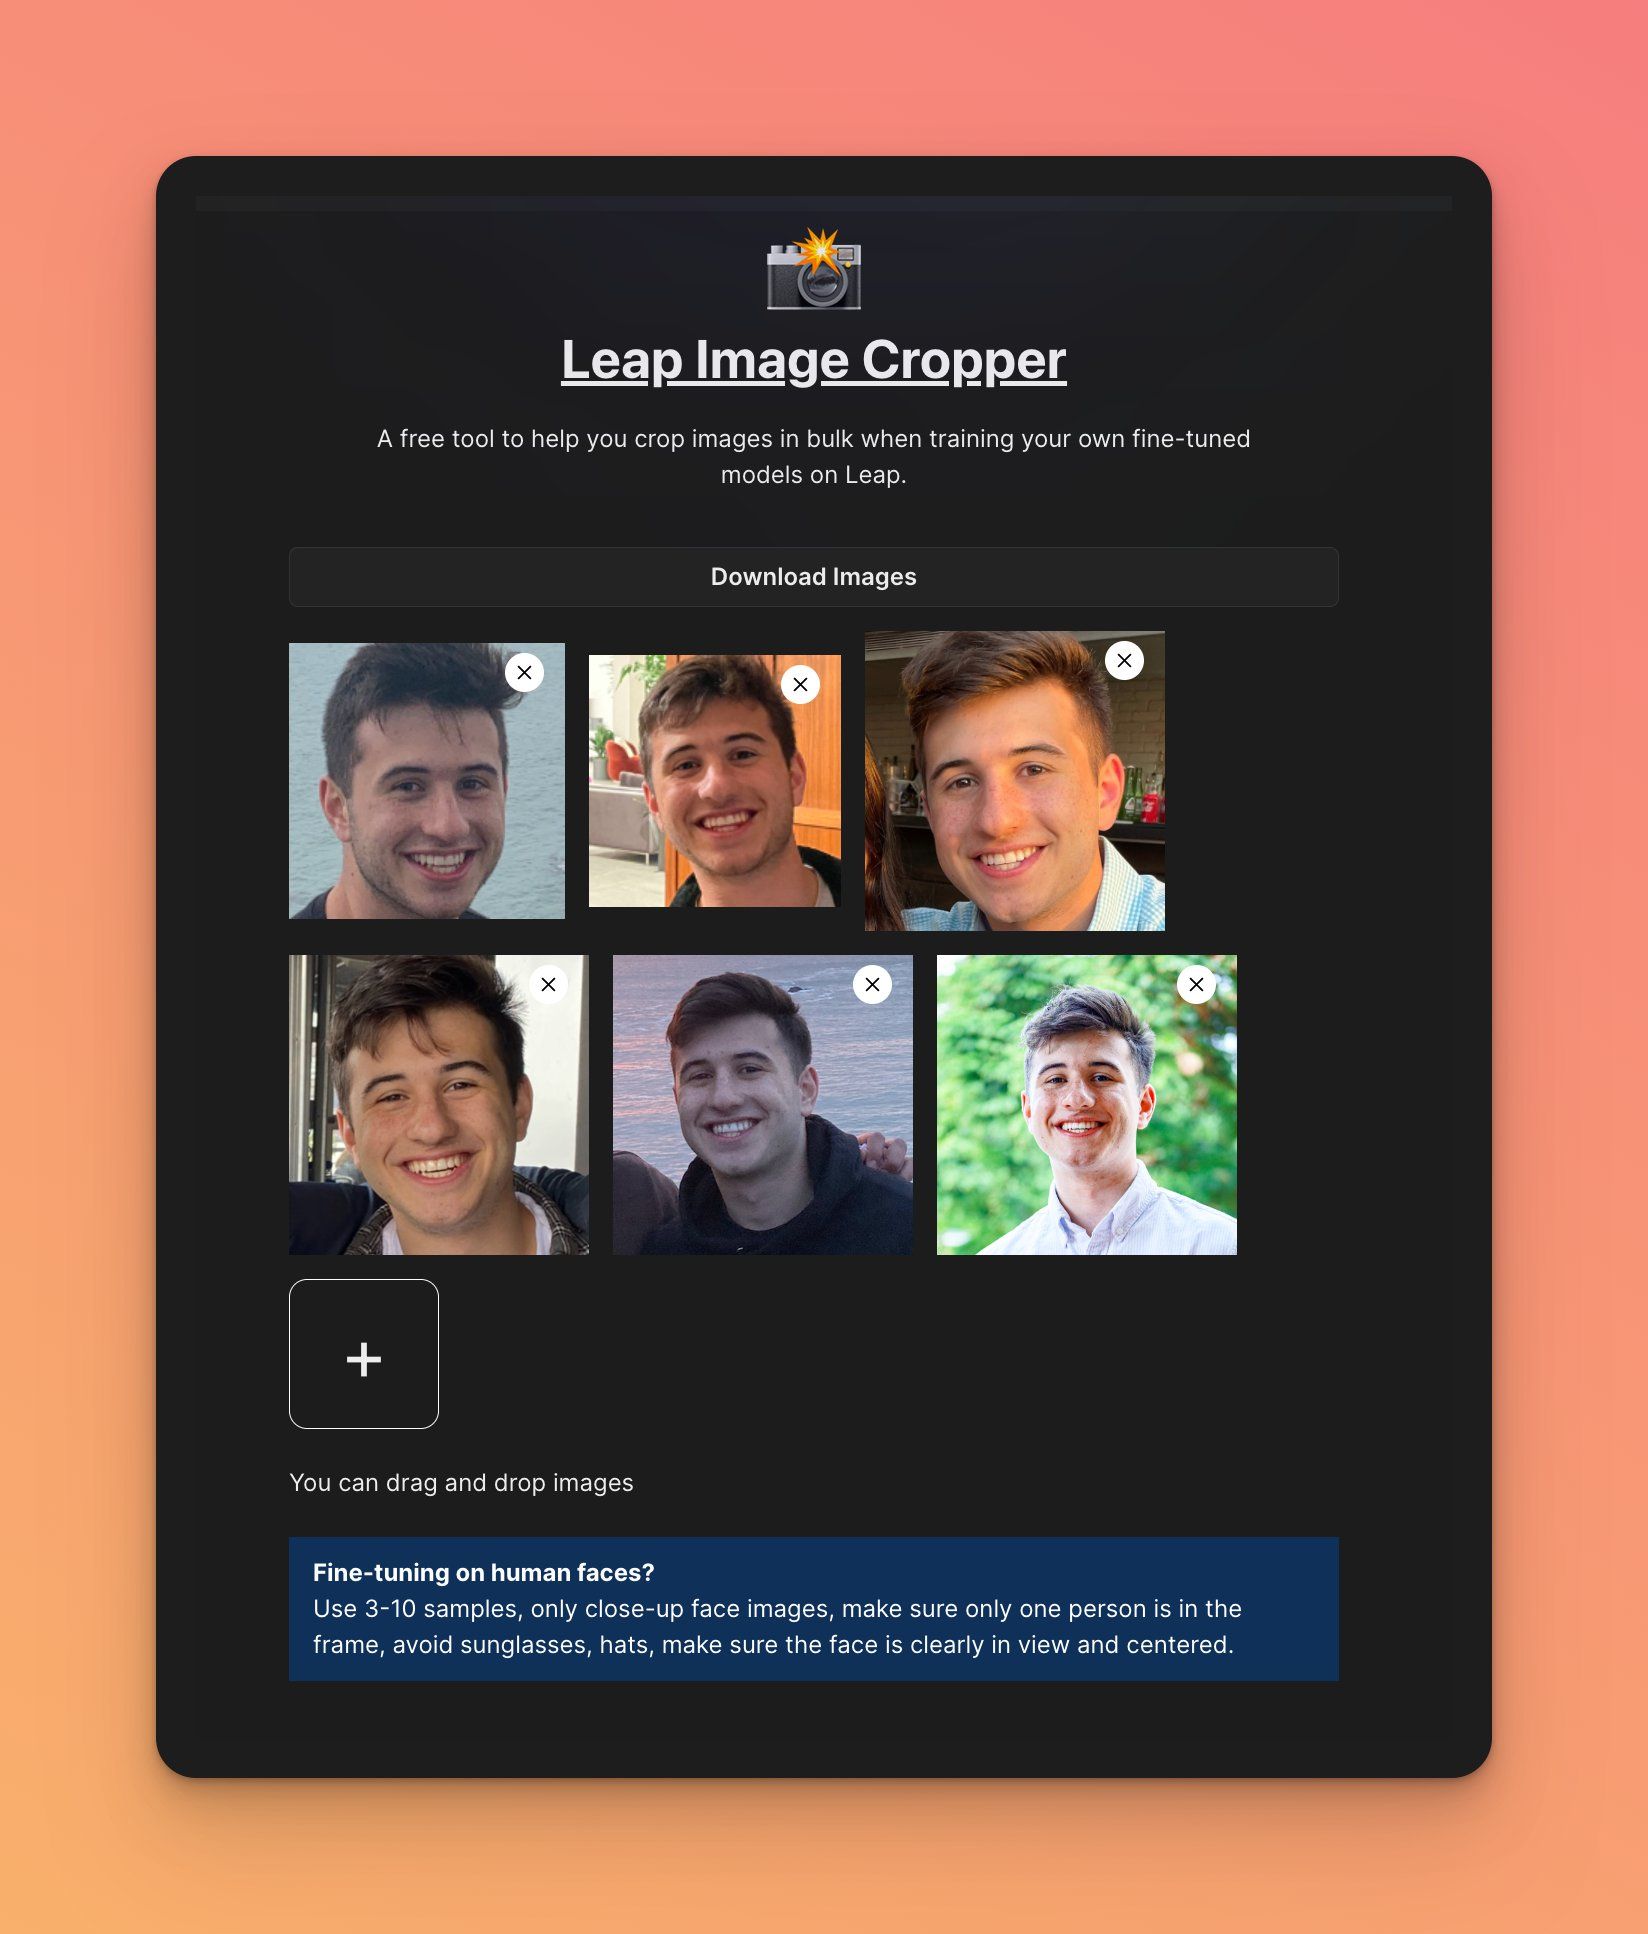
Step 2: Pre-process Images ✨
Once you have 3-15 samples, we can start pre-processing the images.
We built in pre-processing so if you are already satisfied with your results you can skip these steps!
- Center and Crop: For headshots, center and crop your face photos.
- Resize: Resize each image to 512x512. We recommend websites like BIRME to help.
- Refine: Continue refining your pre-processing pipeline with techniques like image upscaling and duplicating the best samples.
Step 3: Train your model 🪄
Using the Astria AI:
- Create a new model and upload your samples.
- Click 'train' and await processing completion.
Once it's finished you're ready to start generating your headshots or avatars.
Step 4: Generate your images 🌉
Once your model is finished, click "try in playground".
You can then enter a prompt or use one of our starter prompts to generate your avatar style:
Additional Prompting Tips:
→ For more prompting tips, check out Leap's collection of prompts
→ Try 'Prompt Examples' in the dashboard
→ Try using the auto-suggested Negative Prompt in our dashboard
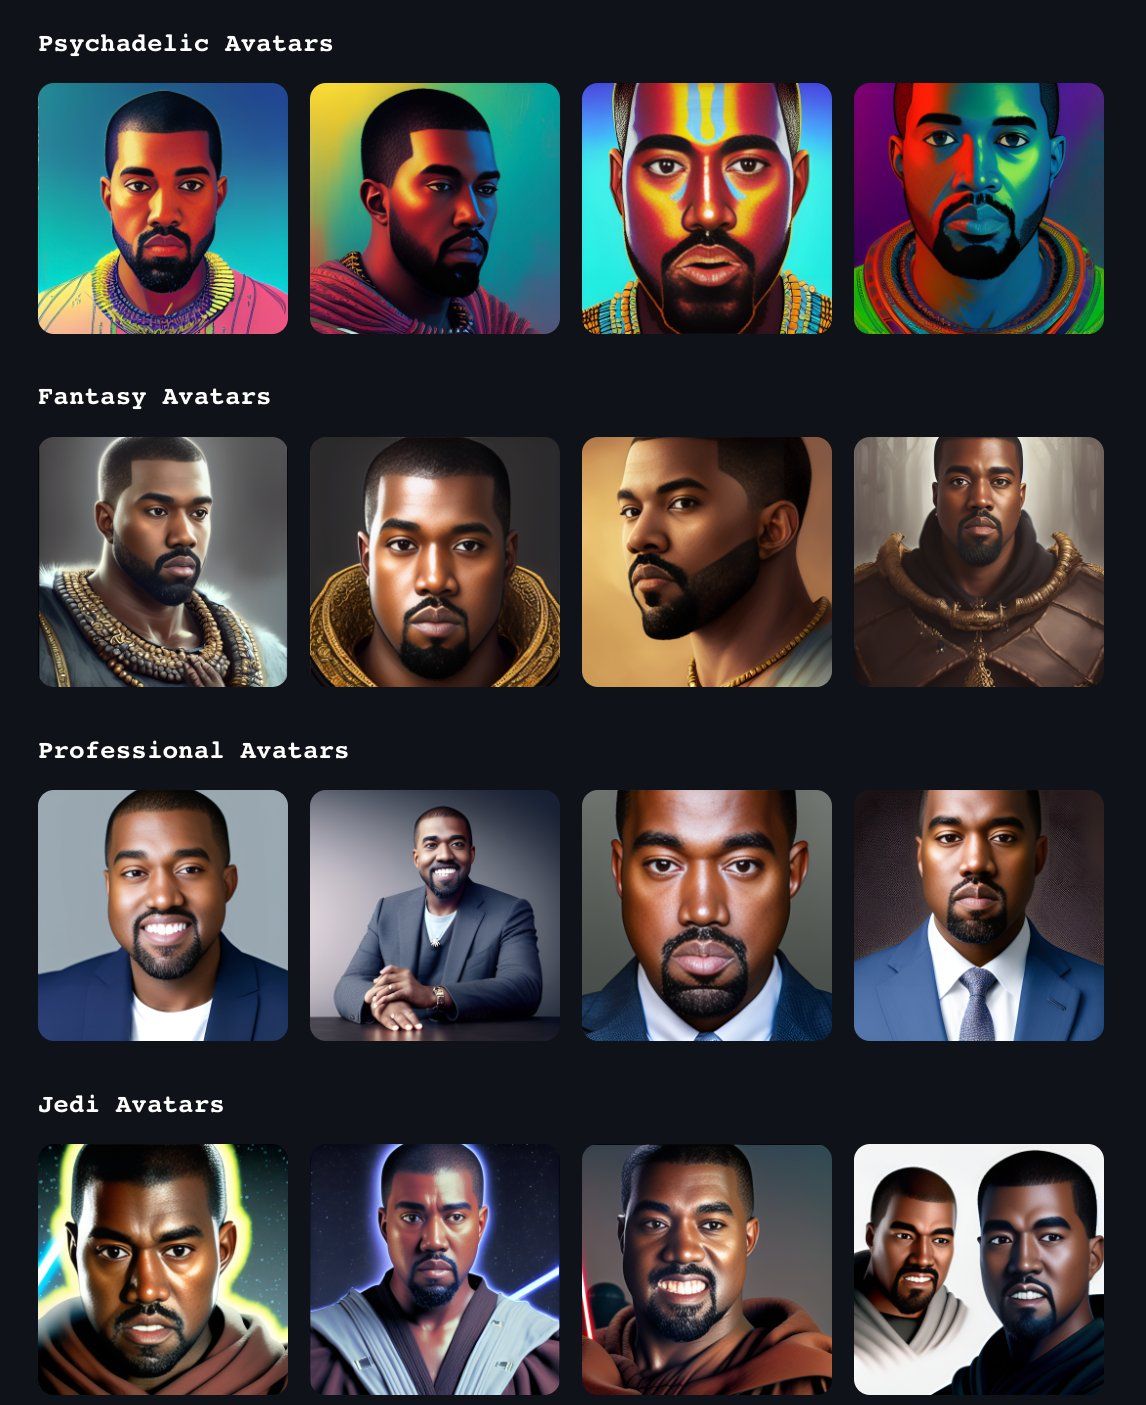
Final results 👀
This is an example model trained on Kayne West.
You can generate Psychedelic, Fantasy, Professional, Jedi style, and more!
Wrapping Up 🚀
That's all for this blog!
Try it out for yourself and let us know if you have any questions.