How to Add Leap AI Research to Your App in Under 15 Minutes
Marketing and Sales teams know the pain of endless debate over MQLs and SQLs. Ultimately, enriching inbound signups to accurately measure site traffic against your target audience or ICP is fundamental for any GTM team.
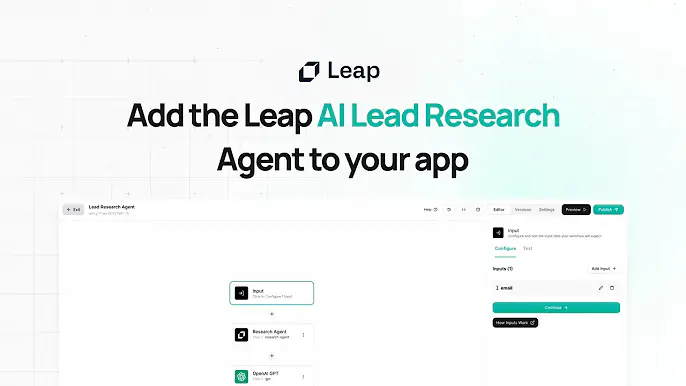
In just 15 minutes with the Leap Research Agent, your team can instantly get insightful information on every new user that signs up for your app - their job, their company, key demographic data and more.
Test it the free tool here!
In this step-by-step guide, I'll show you exactly how to integrate the Leap Research Agent into your app so that whenever a new user signs up, you get a detailed Slack notification with key intel about them.
Want to follow along? Check out the full tutorial video.
Let's get started!
Step 1: Set up your project
First, create a new project. I'll be using the popular T3 stack with Next.js:
bun create t3-app@latest leap-research-demoSelect Typescript, tRPC, Next-auth, and your auth provider of choice (I'm using GitHub). Once the T3 app is set up, cd into the new directory.
Next, create a Discord app and grab the client ID and secret. Add these as fresh environment variables in your .env file:
LEAP_API_KEY=your_api_key_here
RESEARCH_WORKFLOW_ID=your_workflow_id_here
To get the API key, log into your Leap account. For the workflow ID, create a new workflow in Leap (we'll configure this more later).
With the environment variables set, run the app in dev mode:
bun run devYou should see no errors and the app compiling successfully.
Step 2: Install the Leap Workflows SDK
To interact with Leap, we need to install the official SDK:
bun i @leap-ai/workflowsOnce installed, create a new lib/ folder and add a research.ts file:
import { Leap } from "@leap-ai/workflows";
import { env } from "~/env";

const leap = new Leap({
  apiKey: env.LEAP_API_KEY,
});

export async function research(email: string) {
  const response = await leap.workflowRuns.runWorkflow({
    workflowId: env.RESEARCH_WORKFLOW_ID,
    input: { email },
  });

  if (response.data.error) {
    throw new Error(response.data.error);
  }

  console.log(response.data);
  return response.data;
}
This initializes the Leap client with our API key and exports a research function that takes an email address, runs the Leap research workflow, and returns the result.
Step 3: Trigger research on new user sign up
To run the research function whenever a new user signs up, we'll use Next-auth's callbacks feature.
In the pages/api/auth/[...nextauth].ts file, import the research function and add a new createUser callback:
import { research } from "~/lib/research";

callbacks: {
    async createUser({ user }) {
      try {
        await research(user.email || "");
      } catch (e) {
        console.log(e);
      }

      return true;
    }
  }
Now, whenever a new user is created, their email will be sent to the research function to kick off the Leap workflow.
Step 4: Configure the Leap workflow
Back in Leap, it's time to configure the workflow that will research each new user.
As a starting point, you can clone this template.

You can skip the following steps if you use the template.
- In the workflow editor, let's add a new input called "email". This will be a required text field that takes in the user's email address.
- Next, drag out the "Leap Research Agent" onto the canvas. This AI-powered agent has access to the internet and can search places like LinkedIn, Crunchbase, and more to find key information about a person or company.
- Connect the "email" input to the research agent. This tells Leap to use the email address as context when researching the user.
The research agent will output a bunch of useful data like the user's full name, job title, company, and links to their online profiles. To clean this up, add a "Format" step after the research agent.
Finally, let's send all this juicy data into Slack. In your Slack workspace, create a new channel called something like "user-research". Then set up a new Slack app and give it permission to post in this channel.
Slack will provide a webhook URL. Copy this URL and head back to the Leap workflow. Add a new "HTTP Request" step and paste in the Slack webhook URL. Change the method to POST.
In the request body, we'll send the formatted output from the research agent. Slack expects the message payload in a specific JSON format:
{
  "text": "Research Results: {{research_output}}"
}
Be sure to replace {{research_output}} with the output from the Format step.
And with that, the workflow is complete! Whenever a user signs up, their email will be passed to Leap, which will research the user, compile the results, and post everything to Slack.
This is incredibly powerful! With just a bit of configuration, you now have a way to instantly learn about your users as they sign up. You can use these insights to provide personalized experiences, reach out to promising leads, or just understand your user base better.
The research agent is just one of many capabilities of Leap. I encourage you to explore more of what's possible and think about how AI can enhance your app.
Try Leap AI for free and start scaling your inbound lead enrichment.